Custom Fields#
Custom fields allow you to capture data specific to your business on the built-in CRM records. Add custom fields to contacts, deals, customers, companies and projects; custom objects have their own field editor, described below.
Creating Custom Fields#
Navigate to Settings → Custom fields (Admins only) and use the New Custom Field form. Choose the Entity the field belongs to (Contacts, Deals, Customers, Companies or Projects), a Field Type, and a Label; the field key is generated for you and must be unique per entity. You can create fields of the following types:
- Text — Text input
- Number — Integer or decimal values
- Date — Date picker
- Dropdown (Select) — Single selection from predefined options, entered as a comma-separated list
- Checkbox (Yes/No) — Boolean true/false toggle
- URL — Clickable web links
- Email — Email address
The Defined Fields list below the form shows every field, filterable by entity, and lets you delete a field you no longer need. Custom fields appear in a Custom Fields section on the record page in Contacts, Companies, Deals and Customers, can be shown as table columns there, and can be used in filters and sorting like any other column.
Custom Objects#
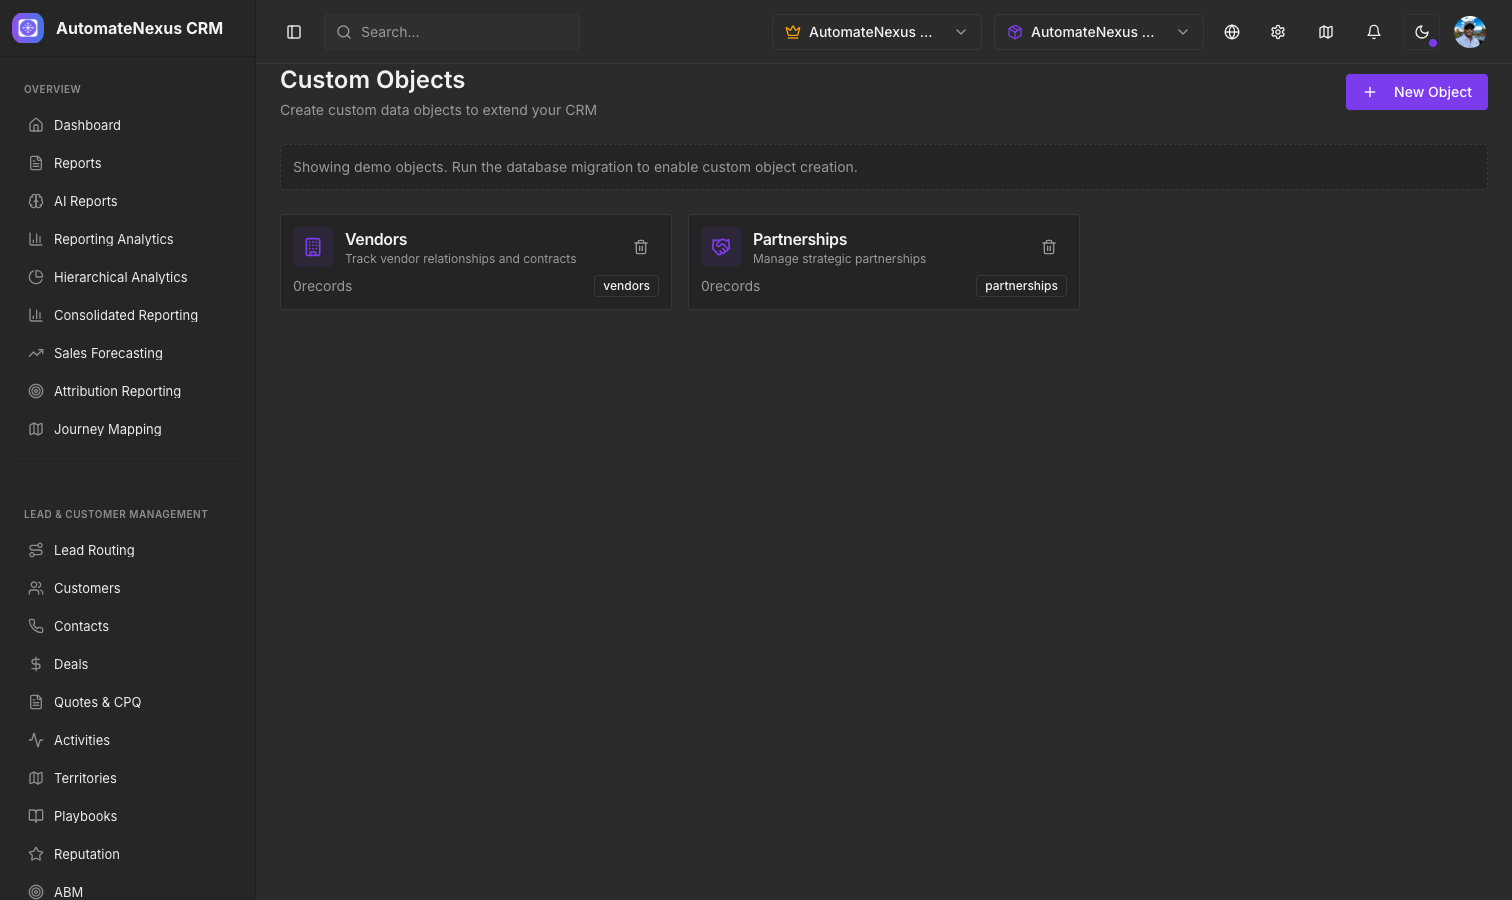
Custom objects let you create entirely new data entities beyond the built-in contacts, deals, and customers. This is useful for tracking data unique to your business.
Common Use Cases#
- Vendors — Track vendor relationships and contracts
- Partnerships — Manage strategic partner information
- Assets — Track equipment, licenses, or inventory
- Locations — Manage office locations or territories
Creating a Custom Object#
Navigate to Administration → Custom Objects (Admins only) and click New Object (the plus button next to the Objects heading once you have objects):
- Enter the Object Name (e.g., "Vendor") and Plural Name (e.g., "Vendors")
- Choose an Icon from the available options
- Add an optional Description
- Click Create
Once created, the object appears in the list on the left with its record count. Use the Fields button to define the fields its records carry: each field has a Label, a Type (Text, Long Text, Number, Currency, Percent, Date, Date & Time, Checkbox, Rating, URL, Email, Phone, Select, Status or Multi-select) and, for Select, Status and Multi-select, a comma-separated list of Options.
Managing Records#
Select an object in the left list to view its records. From the record list you can:
- Add new records with the + Object button (for example + Vendor); give the record a name and fill in the rest from the record
- Search, filter and sort records, choose the visible columns, and save views
- Edit values inline in the table, or open a record to see all its fields with Activity and Notes tabs
- Delete records that are no longer needed, from the record or by selecting rows
To delete an object itself, hover over it in the left list and use the trash icon; this removes the object and all of its records.