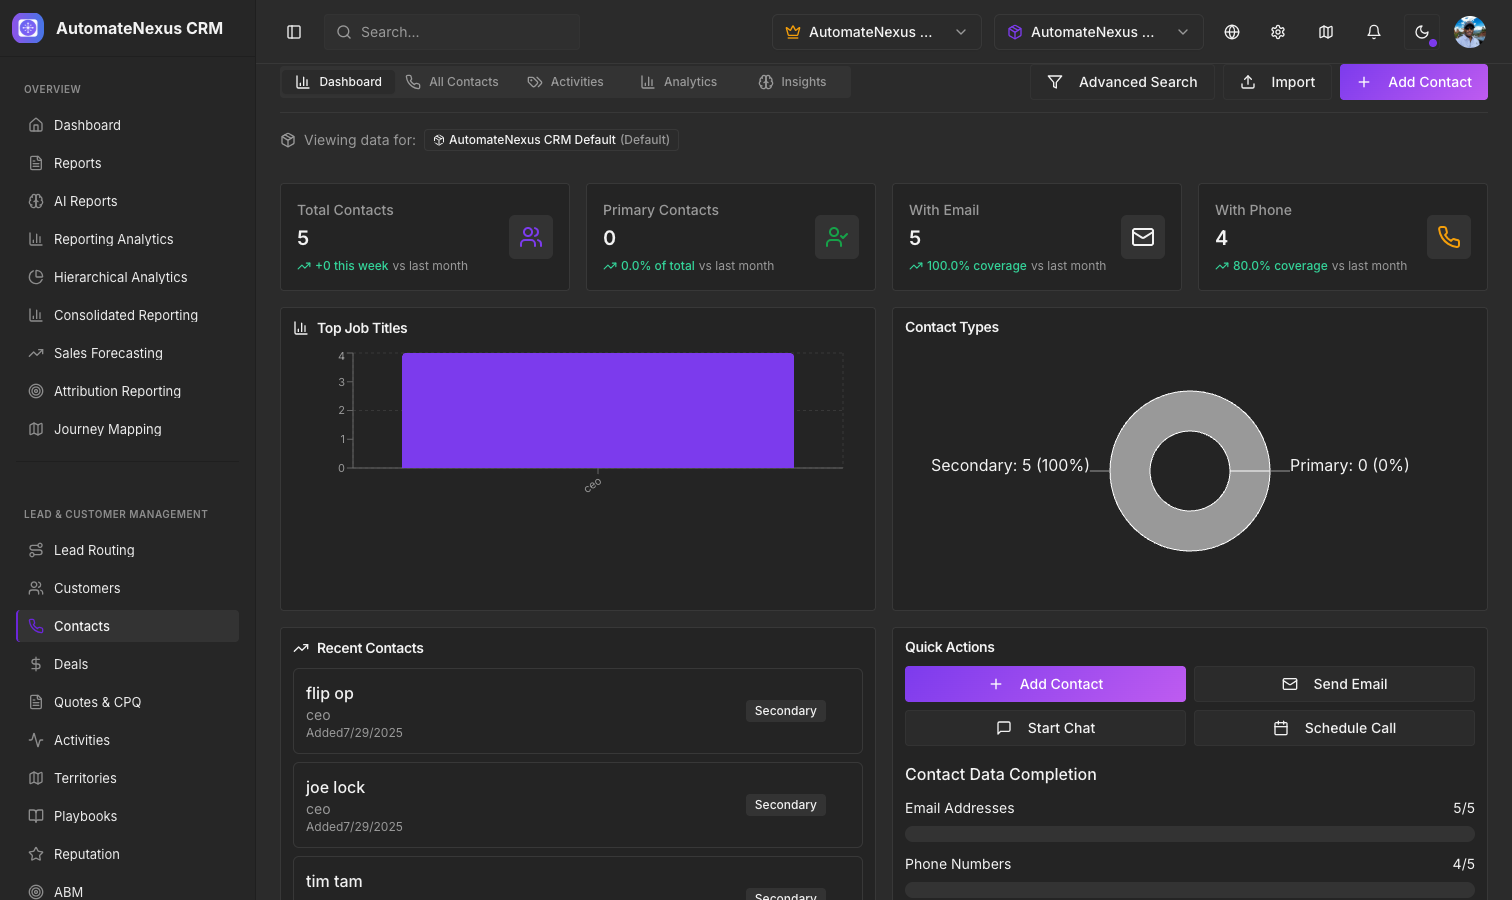
Adding Contacts#
Contacts live in CRM → People, one list for everyone from leads and prospects to customers. There are several ways to add contacts to AutomateNexus CRM:
- Manual Entry — Click + Person on the People page, enter a first name, last name and email, and click Create person. New people start as leads. You can also type a name straight into the new row at the bottom of the table.
- CSV Import — Upload a spreadsheet of contacts or customers with the Data Migration tool (/data/migration; the setup wizard's Import your data step opens it): choose Contacts or Customers, map your columns, preview the rows, then import. The Contacts page (open any person and choose Open in Contacts) also has an Import button.
- Form Submissions — Contacts are automatically created when visitors submit your lead forms
- API Integration — Push contacts from external systems via the REST API (see Contacts & Leads API)
- Lead Routing — Routing rules assign new leads to the appropriate rep (see Lead Routing & Scoring)
Contact Detail Page#
Click a person to open them in a side panel, or use Open full record for the full page. Each record shows:
- Basic Info — Name, type (contact or customer), lifecycle, company, email, phone, city and state
- Custom Fields — Any custom fields you have defined for contacts, shown when you open the record in Contacts (record menu → Open in Contacts)
- Activity — A chronological feed of every interaction (see Unified Contact Timeline)
- Notes, Files and Emails — Free-form notes added by team members, attached files, and synced email with this person
- Deals, Quotes, Retainers and Invoices — For people with a customer account, everything billed to or sold to that account
From the record menu you can start a New quote or New invoice, invite the person to the client portal (Admins), open the record in Contacts or Customers, or delete it.
Custom Fields#
Extend contact records with custom fields to capture data specific to your business. Navigate to Settings → Custom fields (Admins) to create fields of type:
- Text, Number, Date, Dropdown (Select), Checkbox (Yes/No), URL, Email
Custom fields appear in the Custom Fields section of the contact record and as optional table columns in Contacts (see Custom Fields & Custom Objects).
Searching & Filtering#
The People page provides powerful search and filtering:
- Search bar — Search by name, email, phone, or company
- Filters — Add filters on any column (type, lifecycle, company, city, state, created date) and combine them with and or or; sort, choose the visible columns, and group rows
- Table or Board — Switch between the table and a board grouped by lifecycle
- Saved views — Save filter combinations for quick access and share them with your team
Lifecycle Stages#
Organize people with the Lifecycle field: Lead, Prospect, Customer, Inactive or Churned. Filter or group by it, save a view such as "Hot leads", and mark a contact's status as customer to move them into Customers.